The post DIY Letter Artwork {Easy for kids too!} appeared first on Day2Day Joys.
]]>
I remember doing crafty things with my Grandma and my Mom so I hope my kids will also cherish times together getting crafty. Now as an adult, I still love doing crafty things and this love of getting crafty is being past down to my kids, hopefully.
I am also a crafty things collector. I have numerous things in plastic containers, all labeled… now if I could only get that organized in other areas of my home. 
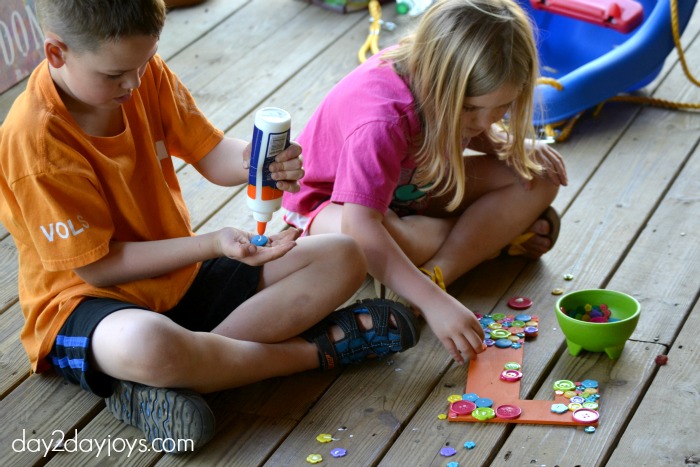
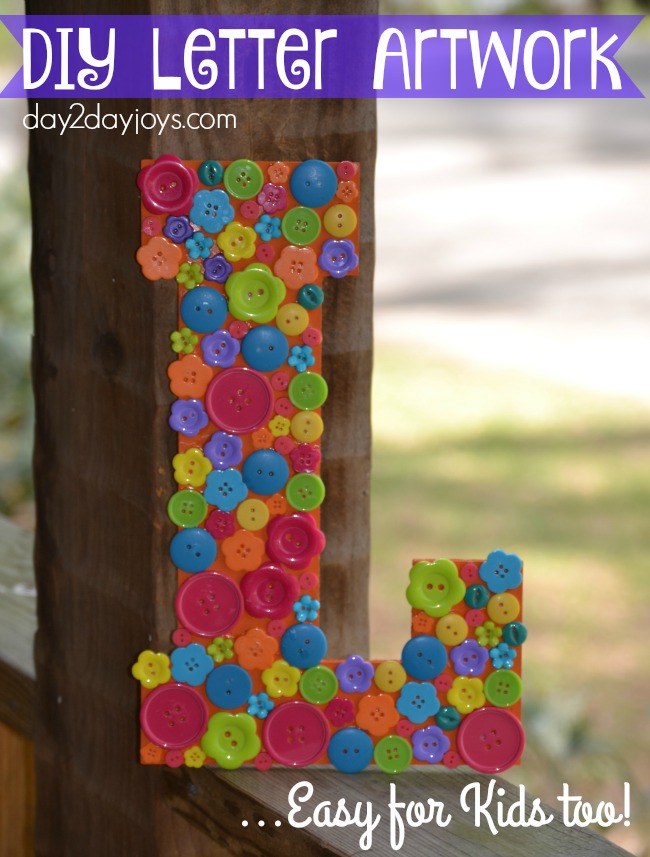
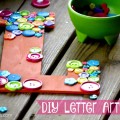
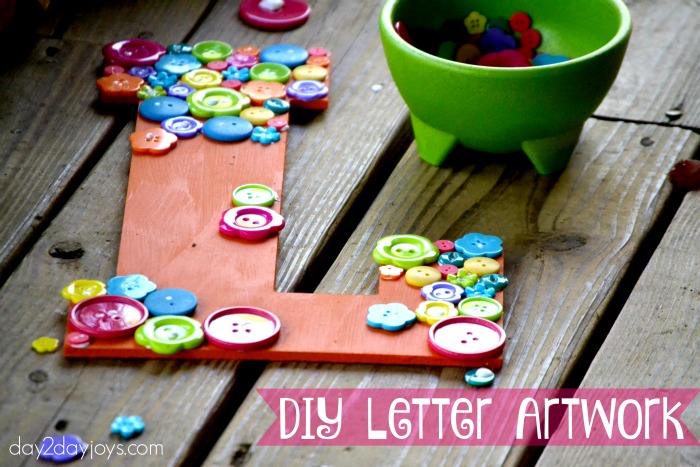
This is a simple tutorial of how to DIY for letter artwork that can represent your last name or individual’s names in your family. My two older kids and I made this for London, the youngest child.
DIY Letter Artwork
What you need:
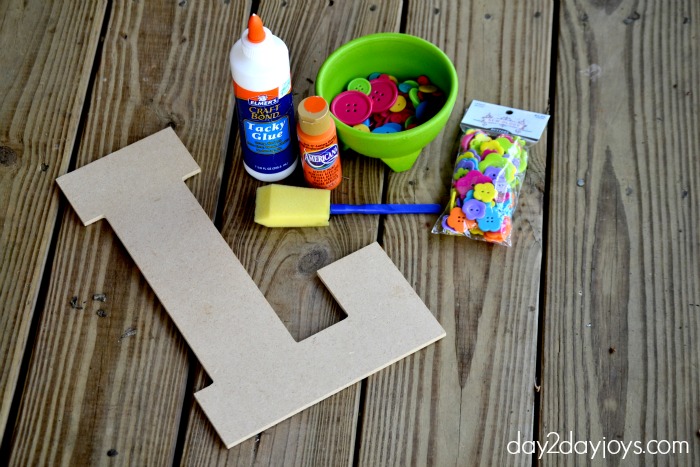
- a letter, large enough to hang (could be cut from card board or wooden, etc.)
- tacky glue
- acrylic paint, color of your choice
- sponge paint brush
- buttons or some other crafty items
- pop can tab
What to do:
- Gather art supplies, I got the letter and buttons from Hobby Lobby
- Paint the letter with acrylic paint, let it dry
- Glue buttons on with tacky paint, let it dry
- On the back of the letter, glue on the pop can tab to use as the nail hanger
- Hang up in room
This is such a simple, easy idea to make with your kids. With the Holidays approaching, it could even be a nice, thoughtful gift.
Do you make crafts with your kids?
*post contains affiliate links
The post DIY Letter Artwork {Easy for kids too!} appeared first on Day2Day Joys.
]]>The post Felt Fall Banner appeared first on Day2Day Joys.
]]> Written by Lisa @ This Pilgrim Life, *NEW* Contributing Writer
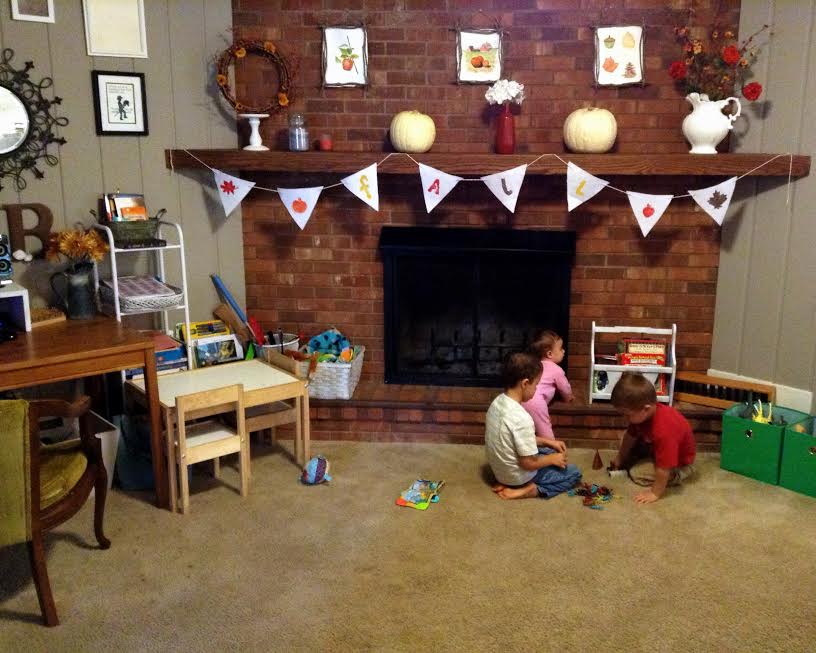
Every year we decorate the mantle for Fall. And every year the routine is basically the same.
Pull off current decor. Pull out boxed Fall decor.
Turn on Christmas music (I know, I know. But this year I have a good reason).
Try to find an arrangement of things we already have on hand or have acquired cheaply that suits our simple, clean style.
Send pictures to my best friend for a second opinion. Because she is a decorating guru. And I am not.
For the past couple of years, I have been able to count on more help than just from my best friend. My children are joining in on the action.
Like most things, they are eager to do whatever.Mommy.is.doing. We cook together. We sew together. And now we decorate together.
Sometimes this means finding random pinecones on surfaces that are in their reach. Sometimes it means reminders not to let their dinosaurs eat all the fake fruit. Almost all the time it means candles. They are big on the candles.
And I say, just go with it. Embrace their participation as a part of the family tradition. Let it be a special time. Prioritize memories over Pinterest-worthy mantles. (Not knocking Pinterest! I know it is a crucial source of inspiration for the decorating-challenged like me). Give them license to be creative and the opportunity to enjoy the work of their hands.
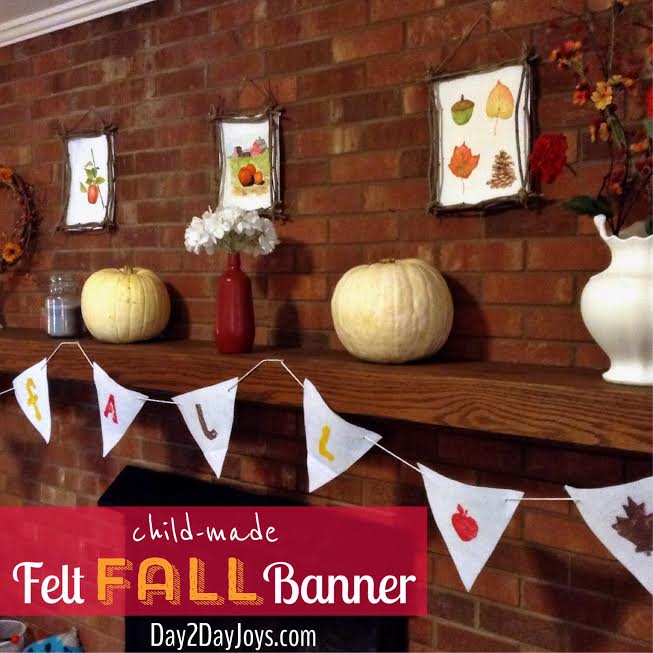
This year, try letting your kids join you in making this simple Fall banner. (If you’re really brave, you can invite friends over for a felt painting extravaganza).
Chances are good that you already have some of these materials stashed away in a cupboard or closet. And those you are missing can certainly be acquired cheaply. Plus, the stamps are quick and easy to make. They may be a new favorite here. (I’m thinking Christmas cards…)
How to make your own fall banner:
Materials Needed:
- 1/2 yard felt
- craft paint
- styrofoam plates
- corks
- paint brushes
Instructions:
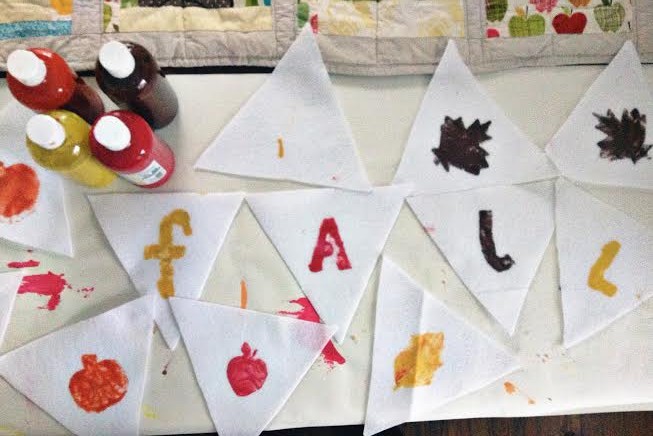
1. Cut the felt triangles. Cut out a triangle from cardstock to use at your guide. [Cut a square 8″ x 8″. Draw a line from each top corner to the center bottom and cut.] Use this to cut as many felt triangles as you can. (Trust me, having some extras is a good thing).
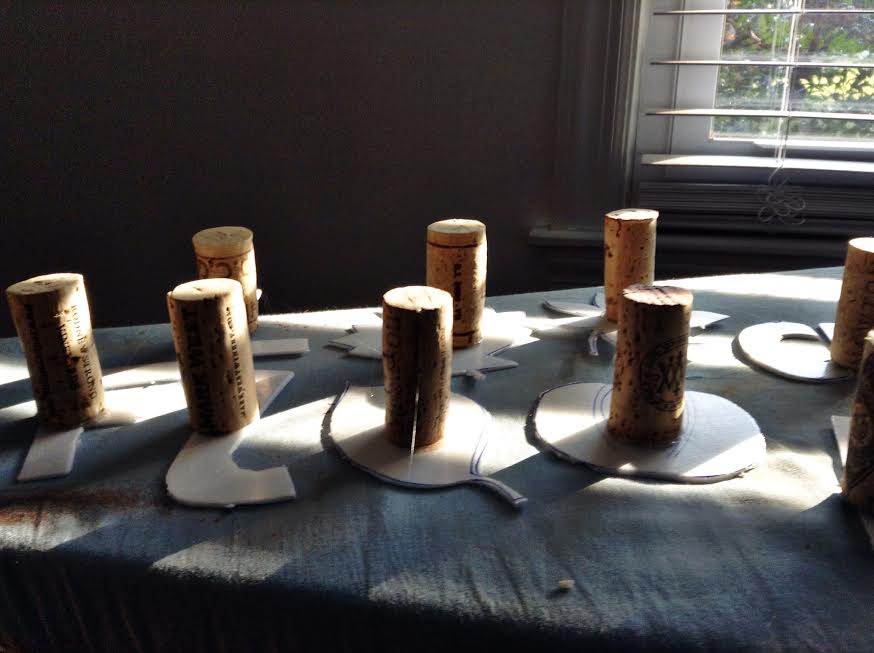
2. Make the stamps/stencils. Draw the letters and/or shapes in the center of each styrofoam plate. Carefully use an exacto knife to cut each shape out. Go slowly so the styrofoam does not tear or snag. Now you have one stencil (the plate) and one soon-to-be stamp (the cutout).
Hot glue a cork to the center of each cutout and let dry.
Voila! Stamps.
3. Set the table, (the craft table). Cover the table with paper or a plastic tablecloth. (I use rolls of craft paper from IKEA for this. Easy and inexpensive). Pour paint onto uncut styrofoam plates to use for dipping the stamps. Pour paint into another container to use to dip brushes in for the stencils, (we used an empty plastic egg carton). Set out the stamps, stencils and triangles.
Even if you are only doing this with one or two children, having the supplies ready from the start is a major time and stress saver! Don’t skip this step.
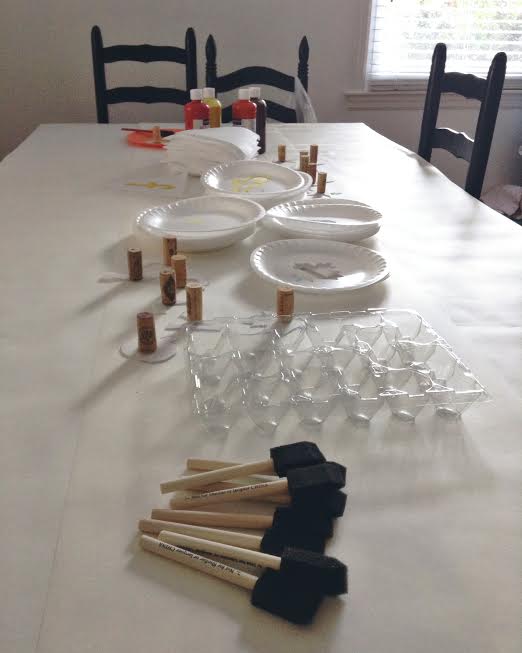
I neglected to pour the paint before the kids gathered. I wished I had remembered because waiting is soooo hard.
4. Paint the triangles. Gather around the table and get to work! (And if you’re like me, take a deep breath and remember that part of the beauty is the kid-ness of it all. Or just make plans to go back and add a few of your own pieces to the banner. No shame either way).
After each triangle is stamped or stenciled, let it dry in a safe spot.
5. Make the banner. Take the dry painted triangles and lay them out in the order you want them. Cut two small slits in the top corners of each triangle for feeding the twine through. Feed the twine through the pieces and you’re done! (Tip: I waited to cut the twine until I hung the banner on my mantle so I could determine just how long I needed it and how spaced out I wanted the triangles).
6. Hang your banner!
Happy Fall! I hope your season is filled with crackling fires, pumpkin flavored everything, and extra-special memories!
The post Felt Fall Banner appeared first on Day2Day Joys.
]]>The post Canvas Craft Idea appeared first on Day2Day Joys.
]]>
With all of these snow days lately, it’s great to have some easy craft ideas to make with your kids. I love doing crafts and so do my kiddos. What kid doesn’t love painting?
If you keep some canvases or even just paint paper, paint, and paint brushes on hand, this is a very simple craft to pull out to make on those “snow days”. And I love these because you can add your favorite bible verse or saying and decorate your home! Or even give as a gifts.
Here’s an EASY Canvas Craft Idea:
Gather your supplies:
- canvas squares or rectangles
- favorite acrylic paint colors
- puffy paint
- paint brushes and/or paint sponges
- pencil
Steps to make canvas craft:
- Gather supplies listed above
- Let your kids help paint canvases. Squirt a couple dabs of your acrylic paint and mix colors together. Use sponge circles to make a neat design
- Dry Canvases
- Write your verse or saying with pencil as a guide
- Use puffy paint to trace words, let dry
Hang your canvas craft on the wall or give as a gift. See, it’s almost as easy as One, Two, Three. We actually made these ones for the grandparents this past Christmas, but they would be great for Grandparent’s Day, Mother’s or Father’s Day or Birthdays!
Do you like to make crafts with your kids? What have you made with canvases?
The post Canvas Craft Idea appeared first on Day2Day Joys.
]]>
