The post Tropical Delight Smoothie appeared first on Day2Day Joys.
]]>
Tropical Delight Smoothie
What you need:
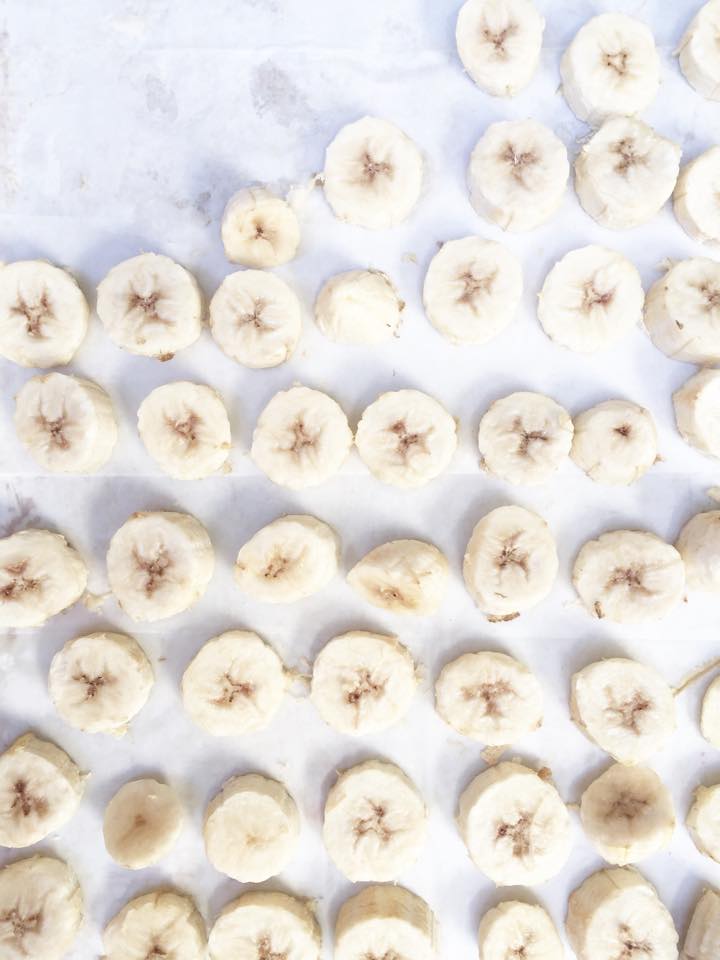
1 banana, sliced (either fresh or frozen)
1/2 cup pineapple, fresh or frozen
1/2 cup ice (this is optional and typically used when the fruit you are using isn’t frozen, if you are using frozen fruit, it usually is plenty cold and you won’t need the ice)
What to do:
What is your family’s favorite smoothie?
The post Tropical Delight Smoothie appeared first on Day2Day Joys.
]]>The post 5 Summer Fruits to Get Into Your Freezer NOW appeared first on Day2Day Joys.
]]>
Written by Karen @ To Work With My Hands, Contributing Writer
One of the many reasons to love summertime is the wide array of fresh fruits that are available.
Enjoying them fresh is so wonderful, but the season seems to be too short, so the next best thing is to get them preserved for enjoying throughout the year. My very favorite way to preserve summer fruits is freezing.
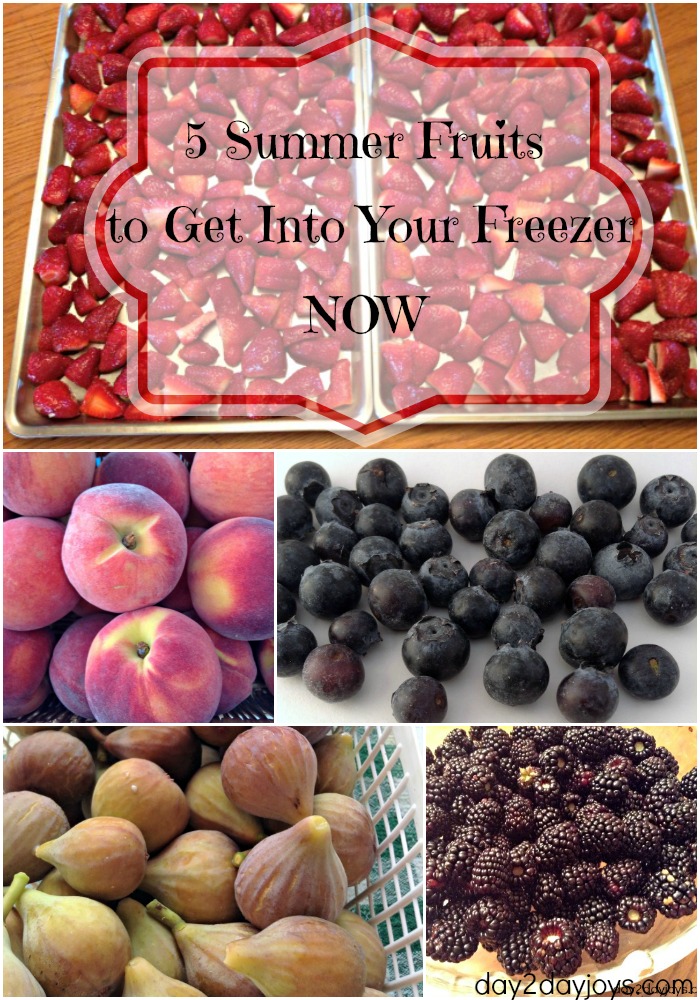
Here’s 5 yummy summer fruits that freeze easily and well, and some delicious ways to enjoy them:
1. Strawberries
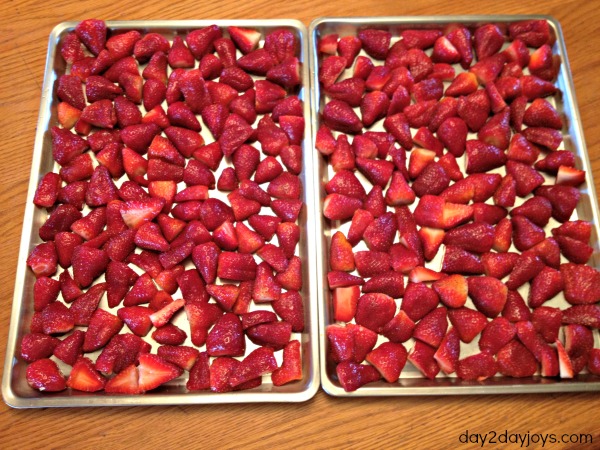
To freeze strawberries, just rinse and gently pat dry. Cut off the leaves and slice berries into rounds or quarters – whatever works best for your recipes.
Lay pieces onto baking sheets, making sure they don’t overlap, and put into the freezer. Allow the pieces to freeze for a few hours – enough to be solidly frozen. Transfer to a freezer bag and label. Put back into the freezer and you’re done!
Frozen strawberries are a favorite for smoothies. There’s no need to thaw – just put a handful into the blender with the rest of your ingredients and blend. One of my favorites is kefir, strawberries, bananas, and a bit of apple juice concentrate – Delicious!
Strawberry jam is my family’s favorite homemade jam flavor. By using Pomona’s Pectin, I can easily control the amount of sugar, or other sweetener, that I use without compromising the quality or setting performance.
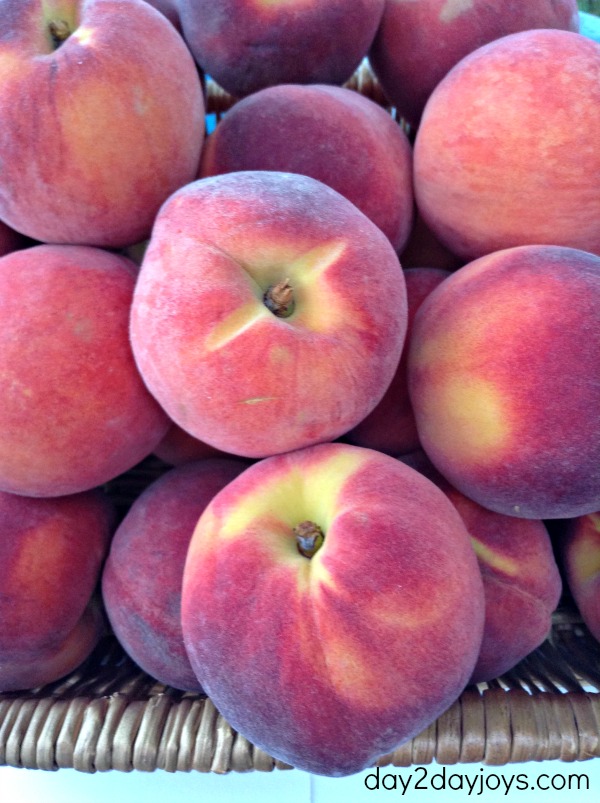
2. Peaches
Peaches freeze best when peeled and cut into chunks. There’s a quick and simple way to perfectly remove the skin from peaches without wasting a single bit of the fruit: Drop a few peaches at a time into a pot of boiling water. After 15 seconds, remove with a slotted spoon and plunge into ice water.
When the peaches are cool enough to handle, the skin will slip right off. If your peaches aren’t extremely ripe, it may take a little longer. Just add more boiling water time, or you can always repeat the process if needed.
Once the skin is off, remove the pit and chop your peaches into chunks or slices. Put pieces on a baking tray and finish the same as strawberries.
*Note: If you have a choice, always choose freestone, rather than clingstone, peaches. It will make the job much easier, and you won’t lose any of the fruit that clings to the pit.
Peaches are great in smoothies too. We also love them warmed with some natural sweetener and served over fresh homemade pancakes or waffles with freshly whipped cream. For a refreshing summer treat, make this yummy homemade peach sorbet.
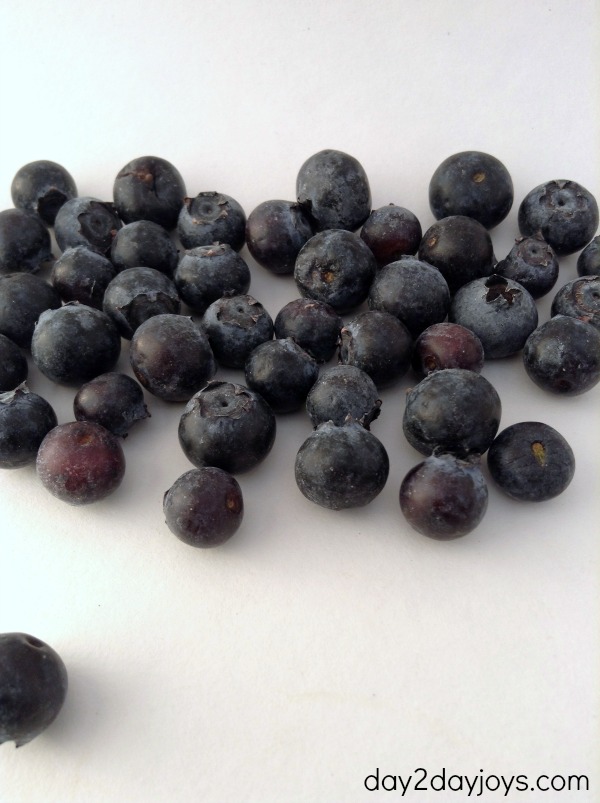
3. Blueberries
There’s varying opinions on how to best freezer blueberries. After checking with a local grower, I confirmed that they are best frozen without rinsing. Rinsing blueberries before freezing will greatly compromise quality.
Simply place them into freezer bags, label, and freeze! Since they’re whole and dry, you don’t even have to freeze them on baking sheets first. Can it get any easier than this?
Do plan to rinse them just before using. I keep a small colander handy for blueberries, and it’s a snap to rinse them just before using.
This year I made a delicious blueberry sauce to top our pancakes, yogurt, ice cream, cheesecake, and even to add to smoothie recipes. It was also yummy mixed into plain cream cheese as a topping for bagels or toast.
And before you freeze them all, do mix in some fresh blueberries into yogurt and granola.
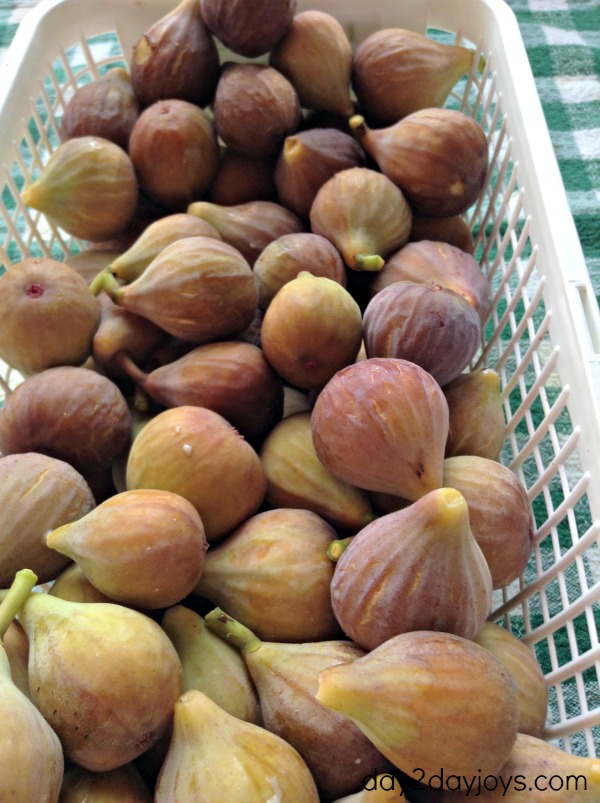
4. Figs
Figs are so wonderful fresh, but they have such an incredibly short season. In the past I’ve canned and dried them, but a couple of years ago I decided to try freezing them. It worked perfectly.
Just rinse, gently dry, remove stems and cut in half. Spread in a single layer on baking sheet and freeze until very firm. Transfer to a freezer bags, label, and freeze.
I’ve tossed frozen figs into smoothies for a delicious new flavor. They blend well with bananas. You can also stew them over low heat with a natural sweetener and use as a pie filling.
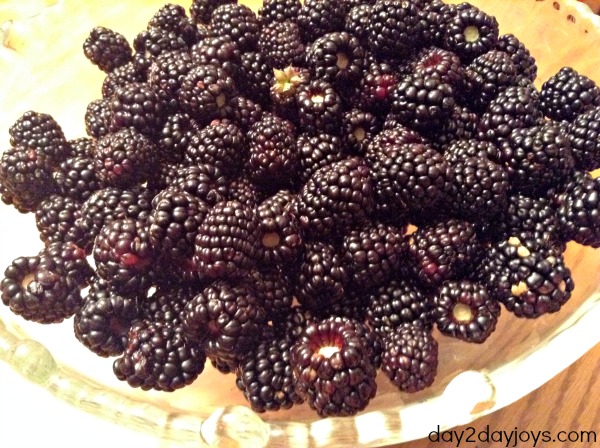
5. Blackberries
We’ve been blessed over the past four years to live in a house that has thousands of wild blackberries growing along the field fencerows behind us each spring.
Freezing has always been my preferred method for preserving them. Rinse and gently pat try. Spread in a single layer on a baking sheet and freeze until solid. Transfer to a freezer bag, label, and freeze.
One of my favorite smoothie flavors includes blackberries. They also make a wonderful homemade salad dressing recipe, and who could forget the iconic blackberry cobbler?
Be sure to get a few fresh summer fruits and berries into your freezer now, and enjoy the fresh and delicious flavor all year long.
What other fruits would you add to this list? Do you have any other delicious ways to enjoy them?
The post 5 Summer Fruits to Get Into Your Freezer NOW appeared first on Day2Day Joys.
]]>The post Reinventing the Cold Lunch appeared first on Day2Day Joys.
]]>
Written by Kari, Contributing Writer
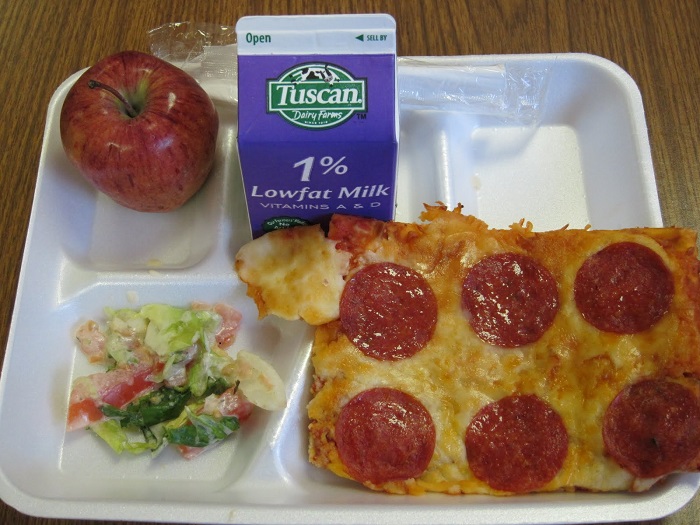
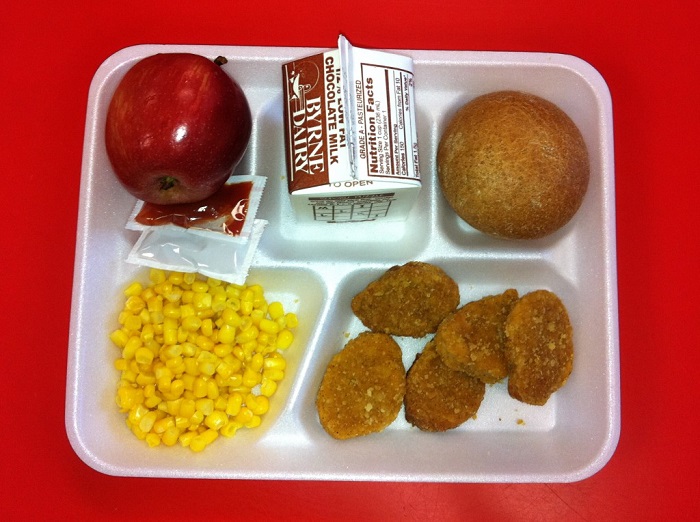
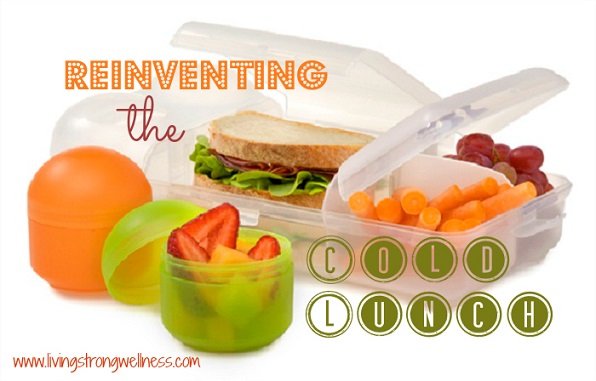
With school starting soon and routines getting back in order, if your child attends school, packing a lunch is a part of that routine. I’m not sure about where you live, but the choices for ‘hot lunch’ are not acceptable at my daughter’s school, so everyday is a ‘cold lunch’ day. I understand the convenience of your child eating hot lunch at school, but the overall consequences are nothing short of disastrous.
And no, I’m not exaggerating.
Understanding where food comes from, how it’s made and what ingredients or chemicals are in the food, it’s not too hard of a decision to make your child’s lunch if you are proactive in your child’s health.
A year or so ago they even made a decision to make school food “healthier” by getting rid of all milk choices over skim and 1% milk. How is this healthier? I like to inform other parents, who are health conscious like me, that having your kids drinking this low-fat and fat-free milk does nothing but deprive them of necessary fats and spikes their insulin levels every time they drink it. Not a habit you want your body doing constantly.
And now that they are wanting to add aspartame to the flavored milk – that makes it even worse. I won’t even go into the fact that the milk comes from conventional cows that have been pumped full of antibiotics and hormones. But serving our kids this kind of milk isn’t helping the obesity issue nor the type 2 diabetes epidemic among our kids.
So…how as parents do we keep our children well-fed during school? How can we make it simple, yet not boring? How can our kids enjoy eating cold lunch while most kids around them are eating hot lunch?
Well, I’m in my 5th year of making my children lunches for school and I have a pretty good handle on what works for my kids on a day to day basis. Not all of my suggestions may work for you, your schedule or your child’s tastes, but it’s a good starting point and can spark ideas in you that you can successfully implement in your house to make sure your kids have a healthy lunch box too!
Some items I like to have on hand to make packing easier are:
- thermoses for hot meals
- various size Pyrex bowls with lids that little hands can take off easily, but are strong enough to not cause leaking
- reusable snack bags (I have cloth/canvas ones, but sometimes I still use regular old Ziploc bags)
- insulated lunch bag
- ice packs (I always stick these inside Ziploc bags in case they break or leak – and this has happened several times)
- reusable utensils and stainless steel water bottles
*If you don’t want to send your kids to school with glass (some ages this may not be realistic), then find plastic containers that are BPA-free.
A few rules about the contents:
1. Always have protein in the lunch.
This is good for stabilizing blood sugar levels and helps keep tummies feeling full longer. Good choices are cultured milk (like Kefir or Amasai), fish, beef, chicken, turkey, bison, raw cheese, eggs, raw leafy greens, beans, legumes.
2. Include healthy fats everyday.
Those healthy fats are so important for our kids. They assist with cell repair, hormone function, brain health and more. They will also keep your kids feeling full longer. Examples of healthy full-fat foods: avocados, full-fat plain yogurt, whole milk cottage cheese, whole milk, cheese, nuts, grass-fed butter, eggs, coconut oil, etc.
3. Good, energy giving carbs!
Those kids need energy so they aren’t falling asleep during their long days. Good carbs are fruits, beans, legumes, whole-grain grains (sprouted or soaked are best), blueberries, raspberries, chia seeds, flaxseed, almonds, honey, quinoa, etc.
4. Clean water.
Make sure they have good, clean water to drink while they’re at school. Most schools allow your child to have a water bottle at their desk – or at least access to their water bottles while they are in class. Having water as the beverage option is perfect in lunches, especially since lunch is either before or after recess – they’ll need to stay hydrated.
Here are a few ideas from my house:
Leftovers.
This is always the easiest and most convenient. I cook healthy dinners, so they gets healthy lunches.
Soups.
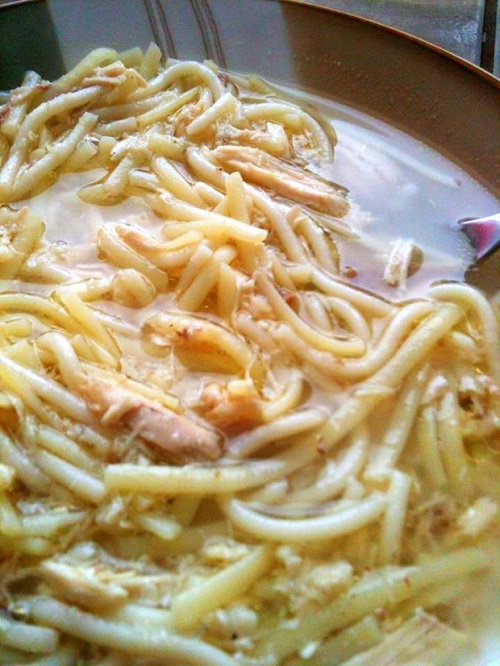
During the colder months, the crockpot is my friend. Sending warming and beneficial soups (like chicken noodle or vegetable soup) is a fun change for kids.
PBBH.
For those days when my kids just want a sandwich, they get a homemade spread of peanut butter, butter and raw honey on real sourdough bread, with some Enjoy Life! mini chocolate chips sprinkled on top. They love it!
Healthy ‘sides’.
Think summer sun pickles, slices of raw cheese, chips and homemade salsa, homemade banana bread, roasted chickpeas, etc.
Probiotics.
My children get full-fat yogurt at least 3 times a week in their lunch. I add some raw honey, a tad bit of grade B maple syrup and chia seeds. Not only is this filling, but gives their immune system a good boost and will give them satiety and lasting energy.
Outside the box.
Have you tried cheese quesadillas? These take about 5 minutes to make in a skillet with tortillas, cheese and coconut oil. Fold in half, slice and put in a thermos so they stay warm. Pasta with meat sauce is always a winner. Noodles and butter with parmesan cheese. Sliced hard boiled eggs, raw cheese and crispy sourdough bites. Burritos and enchiladas are quick and easy and filling! We also do French toast, pancakes and waffles quite often. If we make any on the weekend, we make a bunch extra and freeze them, pop them in the oven while the kids are getting ready, prepare with grass-fed butter, grade B maple syrup, cut up in pieces and put into a thermos. It’s always a hit. You can also try homemade crispy chicken nuggets (grain-free, dairy-free, egg-free is an option) with a side of ranch dip made with yogurt and seasoning.
The possibilities are endless, especially if you do leftovers a lot. Just make sure you have some extra when you prepare meals and you’ll have a variety of lunch options for your child. Figure out what your child will and will not eat. How much time do they have for lunch?
If you put too much food in, it will most likely all come back home. If you find certain items they just won’t touch – exchange it for something else. I realized over four years that school lunches are a battle I choose not to fight. I can concentrate on certain items at home for breakfast and dinner or snacks rather than fighting everyday when they’re not getting consumed at lunchtime.
Try to stay away from controversial foods. By this I mean if your child drinks Kombucha – have them drink it at home instead of at lunch. Yes it’s healthy. No it’s not harmful. But we shouldn’t be those parents trying to ‘make a statement’ with items that may be controversial in the sight of the school leaders. Kombucha does contain small traces of alcohol – so leave it at home and pack water, milk (or dairy alternative) or spa water for a flavored water alternative. My daughter thoroughly enjoys her Black Cherry Chia Raw Kombucha – but she never takes it to school. Most of those above lunch ideas can be found in my cookbook, Real Food. Real Kitchen. So Good!
If you find your child feels left out when her classmates are eating pizza and cheeseburgers – then maybe you can plan a couple meals during the month where the leftovers she takes will be what her classmates will have for hot lunch, like pizza, just healthier versions. I’ve done this for my daughter and she was really appreciative that I did that for her.
Packing your child’s lunch doesn’t have to be a burden for you, nor does eating it have to be boring for them! My daughter gets more comments on her lunches and all the kids wish their mommy and daddy would make their lunch like hers! That’s a sign that kids are open for something new and creative when it comes time for lunch at school.
How do you make your child’s cold lunch fun and healthy?
The post Reinventing the Cold Lunch appeared first on Day2Day Joys.
]]>The post 3 Simple Methods to Save Money and Stop Wasting Food appeared first on Day2Day Joys.
]]>
Written by Kari, Contributing Writer
Do you cringe when it comes to wasting food? I certainly do and it seems that in our society it’s not looked down upon like it used to be. There was a time when the only food a family had was what they grew on their land. Maybe small towns had a quaint little corner store that sold some food items – but they weren’t like our Walmart Supercenters or Krogers.
People valued food and I think we’ve lost that in this day and age of abundance, prepackaged foods and laboratory made foods available on every corner in America (think Doritos, Little Debbies, Captain Crunch and Slurpees).
So how can we be good stewards of the provision we have been given when it comes to food? What steps can we take to make our food supply last longer? Even if you don’t have a harvest from a garden, you can take these simple methods and use them when you are buying food from the farmers market or grocery store.
The three simple ways I save money and stop food waste in our home are:
1. Freezing
2. Deyhdrating or Drying
3. Fermenting
Now before you stop reading this thinking this is only for homesteaders – know that this is for everyone! I don’t live on land, own cattle or have a farm. I live in the suburbs with an 8’x12′ garden, a summer farmer’s market up the street and a wonderful health food store near us where they only sell organic produce, YET I employ all these sources in keeping my shelves stocked with amazing food year round.
Let’s take a look at each of these individually…
FREEZING
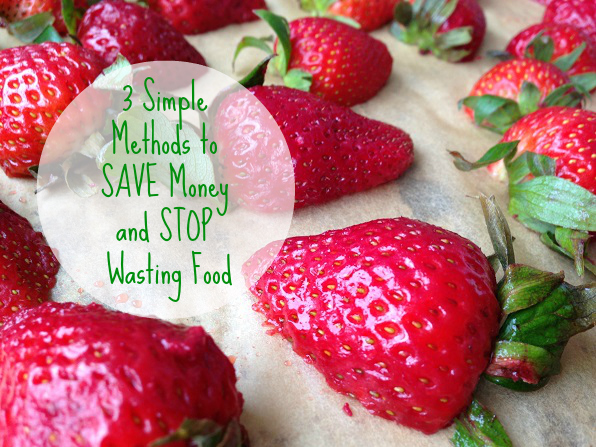
Whether you are harvesting a great yield from your garden or seasonal fruit and vegetables are priced great at the store, take this opportunity to freeze portions of these for use later in the season. Buy more than you’ll need, then freeze the rest. This is also great to do with vegetables, homemade sauces, beans and meat.
Buying meat when prices are good and freezing it (freezing times vary with type of meat) can save some money down the road when prices raise due to seasonal/weather changes or unexpected issues, like drought. Doing a quick search on the internet on instructions for freezing specific foods will provide many resources and instructions on how to successfully achieve this wonderful preservation method.
– To freeze fruit, wash and allow them to dry thoroughly. Lay them out in a single layer on a lined baking sheet. Stick this in the freezer until they are frozen, then transfer to a freezer bag or container. – To freeze veggies, it’s more of a process and you’ll need to blanch and chill them before freezing. – Blend up smoothies or juice fruits and veggies, then freeze them in ice cube trays, then transfer them to freezer bags or containers to use in smoothies at a later time. – Pre-make sauces, soups, stock and beans and freeze to use in the cooler months. – Keep all your veggie scraps when making other dishes, freeze them and use them to make vegetable stock. – Save bones from whole fryer chickens to make bone broth.
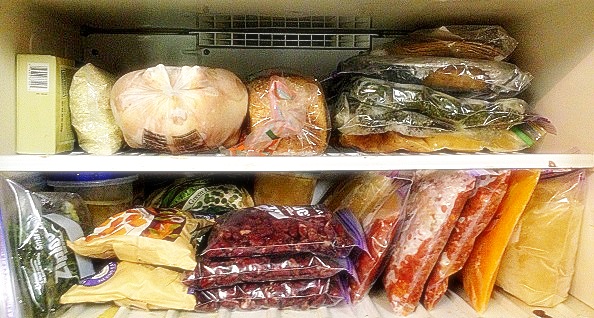
The possibilities are endless! Just make sure you have a good system in your freezer to store all these items. I find that freezing in freezer bags and laying them flat offers up the most space saving option.
DEHYDRATING OR DRYING
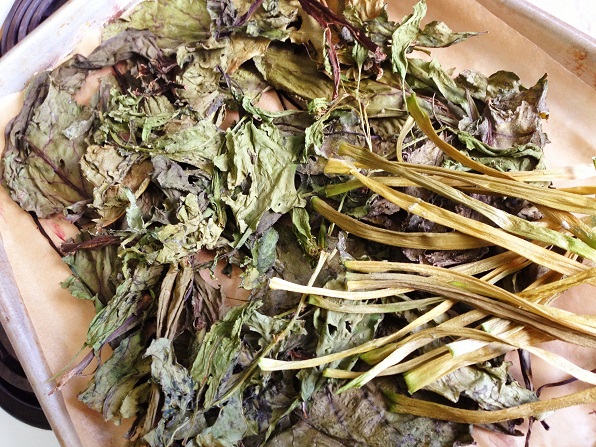
This method is great for all your greens, herbs, some veggies and even fruit. When you only need 2 tablespoons of fresh cilantro, you still have to buy it as a ‘bunch’, so you’re left with extra. Instead of letting it go bad, throwing it out or even composting it (although, once it’s gone bad – this is the best option) – dry or dehydrate the leftovers for your own dried herbs.
Oftentimes I hang my herbs to dry in a cool dark place, then grind them down and store in a glass container. When you buy or grow items like kale, chard, lettuce, spinach, etc., these are great to dehydrate and to process them into a green powder (including stems and leaves). Add these to soups or make your own green powder blend to drink – you’ll get amazing nutritional benefits from these concentrated powders.
If you don’t have a dehydrator, this can easily be done in the oven or even out in the summer sun. When using an oven, choose the lowest setting (150 on older models, 170 on newer) and heat with door shut for 2 hours. At that time, open the oven door slightly for ventilation and allow to continue heating until items are thoroughly dried. During the summer, this is best done in the evening hours so you don’t heat up the house.
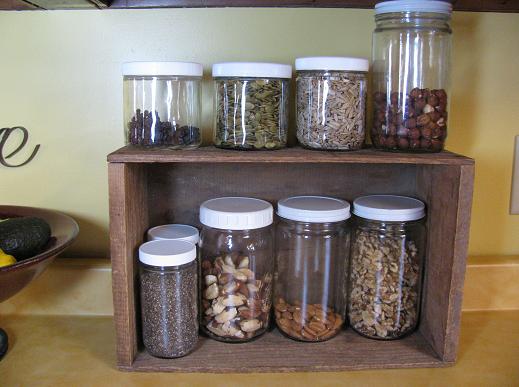
Other foods you can dehydrate are nuts and seeds, which allows for an extended shelf life along with making them healthier and easier to digest. Favorites in my house are homemade trail mix, dehydrated cinnamon apple slices and sweet potato chips with sea salt. I’ve also made raw cookies using a dehydrator and they were amazing!
FERMENTING
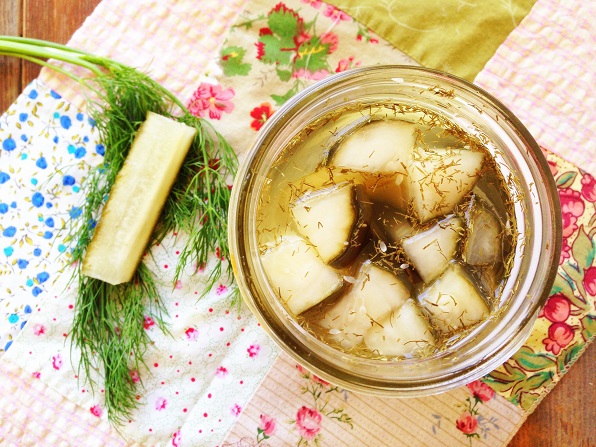
This is such a wonderful preservation method that has been used for centuries and truly offers amazingly healthy foods! We typically think of pickles and sauerkraut, but you can ferment foods such as eggs, cabbage, beets, watermelon, dairy and meat.
There are many wonderful websites out there that will walk you through fermenting foods and they offer delicious recipes. It’s a process of creating an environment for a chemical breakdown and change in food (typically lactic-acid and alcohol fermentation).
A couple favorites at our house are my Summer Sun Pickles, Homemade Cream Cheese, DIY Crème Fraiche and Homemade Yogurt and Dairy Kefir. Make sure you don’t get sidetracked by all those articles that say fermented foods are harmful. This method to preserve food has been around since the beginning of time and research shows that those cultures who used this method (and those that still use this method) are some of the healthiest people on the earth. Refrigerators and stoves are relatively new.
Microwaves are babies in the age of kitchen appliances – so we have to realize that cultures had to prepare and preserve food in ways that didn’t require modern technology. These methods proved to be nutritionally beneficial and insured there was no waste to their provision. Remember they didn’t have Walmart down the street to go stock up on food! I love gleaning from past generation’s wisdom when it comes to food since they were a whole lot healthier then we are in 2013!
These are just three simple and easy methods that will save you money on your grocery bill and keep your pantry, freezer and refrigerator full during fresh food’s off-season! It will feel amazing to be a good steward of your money and food and not to mention that you’ll be feeding your family nutrient dense foods for optimum health!
What is your favorite way to preserve and extend the life of your abundance of food?
The post 3 Simple Methods to Save Money and Stop Wasting Food appeared first on Day2Day Joys.
]]>The post The Easiest Way to Freeze Blueberries appeared first on Day2Day Joys.
]]>
Written by Kristen, Contributing Writer
It’s Blueberry Season!
It’s hard to beat fresh, seasonal berries, especially when you have access to local fruits that you can even pick yourself. The flavor can’t be beat! They are so sweet, so tasty, and sadly, so temporary. Berries aren’t known to have a long shelf-life!
One of my favorite things to do in July is to buy blueberries in bulk from a local farm market. They aren’t grown there, so these berries aren’t quite as fresh as the you-pick varieties we can find at the orchards around us. But this busy mom has limits, and she really likes having the convenience of 10 pound boxes of bulk blueberries!
I put these blueberries in smoothies, oatmeal, desserts, muffins, and more. With all of those uses, I’ve found that 40 pounds is a good amount to get us through the year. While it is much more convenient to buy so many blueberries already picked than to try to do the labor myself, I do come home from the store with an awful lot of blueberries to freeze at once.
The Typical Routine for Freezing Berries
The typical routine for freezing berries is pretty much the same regardless of where you look:
- Wash and sort berries.
- Remove stems and hulls (if they have them) and cut up large berries, like strawberries, if desired.
- Lay on a cookie sheet or pan in a single layer and place in the freezer for a few hours or overnight.
- Once frozen, transfer the berries to a freezer bag that has been labeled with the berry name and date.
- Keep the berries in a deep freezer for long term storage.
It’s not hard. It’s not exactly time-consuming. But when you have 40 pounds of blueberries to freeze, finding enough cookie sheets and pans to stick in the freezer, and enough freezer space to lay them on, is a bit of a challenge. This year I was especially pressed for time, and I didn’t want to have many of my precious seasonal berries end up in the compost! I decided there must be a better way, and there is!
The Easiest Way to Freeze Blueberries

Now, this slacker simplified way of freezing blueberries will only work for blueberries. Don’t try it with strawberries or raspberries. If you have blueberry cousins to freeze, like saskatoons, this might work for them, too, but I’m not sure.
The steps really can’t be easier:
- Wash blueberries in a large colander, then gently shake to remove excess water.
- Dump the berries into a 9×13 baking dish lined with a kitchen towel, filling about 1/3 or 1/2 of the way.
- Gently shake the pan from side to side to shake off more of the water drops and pick out any smashed, squishy, or otherwise bad berries.
- Dump the berries into a heavy-duty freezer bag (labeled with the date and berry name if you want), filling about 2/3 of the way.
- Lay the bag flat in the freezer, spreading the berries out evenly in the bag. After they’ve frozen in the bags completely, move the berries around inside the bag to break up any clumps.
- Keep them in a deep freezer for the best results, and if you are freezing 40 pounds of berries like me, you probably need that extra freezer space.
Voila! Removing that extra cookie sheet step allowed me to quickly get all of those blueberries in the freezer in only an hour or two instead of many hours and lots of waiting over a few days.
You’re probably wondering if the berries aren’t just one giant frozen clump inside of the freezer bags. I’m very glad to announce that blueberries have some sort of magical power that prevents them from freezing together. There’s probably some rational reason for it, but I don’t know what it is. Also, since your berries may be a little damp when you put them in, you might find some extra ice crystals in the freezer bag. This doesn’t bother me, but if it does you, you can try to more thoroughly dry the berries before bagging them.
There may still be some merit in freezing the berries on a cookie sheet first. I’m not sure, but I’ll find out as the winter goes on and I pull out my freezer bags of berries. I have a feeling that any slight disadvantages will pale in comparison with the time and effort this simplified method just saved me, though!
Do you freeze blueberries in the summer? Have you ever tried just putting them in a freezer bag, or do you use some other method?
The post The Easiest Way to Freeze Blueberries appeared first on Day2Day Joys.
]]>