The post Spiced Pumpkin Pie with Flaky Pastry Crust appeared first on Day2Day Joys.
]]>
Written by Kari @ KariNewsom.com, Contributing Writer
Autumn is officially here! At least in Colorado! We are having beautiful and warm days (high 70’s to low 80’s), but the nights are cool and crisp! Leaves are turning bright yellow, orange and red – and the morning has brought a slight haze these past few days.
Typically I am more of a warm-weather person. I’m all about the sun, flip flops and being outside. That being said, I’m still a Colorado girl at heart. I like to get bundled up in chunky sweaters, wool socks and fur lined shoes. I like jumping in the Jeep with my husband and kids, all bundled up, to drive to the mountains to see the Aspen’s turning. And since we’re Colorado natives, no matter what the weather, you roll the windows down, crank the heat and put those hats on and enjoy the drive!
The other thing I like about autumn is that I start spending more time in the kitchen again, making delicious and yummy smelling foods! A few years ago I wanted to make a pumpkin pie – a pie that I’ve never liked. As in ever. I figured it was because store bought pumpkin pies were not close to one made from scratch, so I wanted to try making one COMPLETELY from scratch to see if I could like a real pumpkin pie!
I have to say, when I took the first bite of this from-scratch creation, I instantly became hooked. This is a tad more involved than other recipes – okay, a lot more involved, so make your special occasions more special by incorporating this into the menu. It is absolutely delicious! If you’re already a pumpkin pie lover – then you MUST try this and add it to your favorite’s list! It’s on ours, which is why we included it in my first cookbook – Real Food. Real Kitchen. So Good!

Spiced Pumpkin Pie with
Flaky Pastry Crust
Yield: 2-3 pies
What you need:
*for the flaky pastry crust
- 3 ¾ cups white spelt flour
- 1 tablespoon cane sugar
- 1 1/2 teaspoon sea salt
- 1/2 teaspoon baking powder, aluminum-free
- 1 ¾ cup cold real butter
- 2/3 cups ice cold filtered water
- 2 tablespoons full-fat plain yogurt
- 1 teaspoon white vinegar
*for the spiced pumpkin pie filling and topping
(this will fill at least 2 pie dishes, depending on the size you make – believe me you’ll be glad you have more than one)
- TOPPING
1/2 cup (1 stick) real butter , at room temperature - 1 cup spelt flour
- 2/3 cup packed brown sugar
- 1 cup chopped pecans
- 1 teaspoon cinnamon
- 1 teaspoon vanilla
- FILLING
1 1/2 cups packed dark brown sugar - 1 teaspoon sea salt
- 2 teaspoon cinnamon
- 4 tablespoons of freshly grated ginger
- 1/2 teaspoon ground clove
- 1/2 teaspoon allspice
- 4 eggs, from pasture-raised chickens
- 2 egg yolks, from pasture-raised chickens
- 2 teaspoon finely grated orange rind
- 29 ounces pure pumpkin, pureed
- 2 (12oz) cans evaporated milk
What You Do:
FOR THE FLAKY PASTRY CRUST:
- In a VERY large bowl, combine the flour, sugar, salt and baking powder and blend well.
- With a pastry blender – or 2 butter knives, cut in the cold butter until you have chunks the size of peas.
- In a measuring glass, mix cold water, yogurt and vinegar together. Add liquid, all at once, to the flour mixture.
- Stir quickly to distribute the liquid BUT DO NOT over mix. The consistency of the dough at this point will be a tad crumbly.
- Allow the dough to rest in the fridge for 2 hours or overnight. When the dough is ready it will break and not stretch.
- Divide into three portions and shape into discs. For the ones you won’t be using right now, wrap in wax paper and store in an freezer safe zip lock bag and place in the freezer for up to one month or in the fridge for up to 3 days. If you do freeze it, thaw it in the fridge overnight – do not leave it out on the counter to thaw out.
- When ready to use, roll out to around 12″ diameter so it will fit right in a 9″ pie dish. Transfer dough to the pie dish and trim the edge so it’s hanging over the edge by 1/2″. Fold over the edge and shape as desired. With a fork, prick the bottom and sides of the crust and place in the freezer for 10 minutes.
- To “blind bake” the crust, place a piece of parchment paper in the pie dish, on top of the crust and fill with dry beans so it’s weighted down. Place pie crust on a cookie sheet and bake for 30 minutes at 350F degrees. After 30 minutes, remove the parchment paper and beans and bake for 5 more minutes. Remove from the oven and cool before placing any filling inside.
For Spiced Pumpkin Pie Filling and Topping:
- Preheat oven to 425F degrees.
- Combine all the TOPPING ingredients in a medium size bowl and set aside.
- Combine all the FILLING ingredients in a large bowl and whisk well. Pour this mixture into the cooled down pie crusts.
- Bake pies for 15 minutes. Reduce the oven temp to 350F degrees and bake for an additional 30 minutes.
- Remove from the oven and sprinkle the topping on both pies. Return to the oven and bake for 15 minutes or until a knife inserted in the center of the pie comes out clean. If you find the edges begin to burn while finishing the bake time, place foil over the edges to during those last 15 minutes of baking.
SUBSTITUTIONS:
- White spelt flour: whole white wheat, whole wheat pastry, unbleached & unenriched white flour
- Cane sugar: coconut sugar, palm sugar
- Full-fat plain yogurt: full-fat sour cream, crème fraiche
- Brown sugar: coconut sugar or cane sugar with 2 tablespoons of molasses added
- Freshly grated ginger: use 1 teaspoon ground ginger if you can’t get fresh ginger
HEALTH MADE EASY:
if using canned pumpkin puree, choose organic | make your own puree using “pie pumpkins”, which is a pretty simple process | since it makes 3 pies, you can either bless someone else with one or freeze them for up to a couple months | the fresh ginger really makes a difference in the taste, I prefer fresh over ground
What is your favorite autumn recipe that makes you smile from ear to ear?
The post Spiced Pumpkin Pie with Flaky Pastry Crust appeared first on Day2Day Joys.
]]>The post Tropical Delight Smoothie appeared first on Day2Day Joys.
]]>
Tropical Delight Smoothie
What you need:
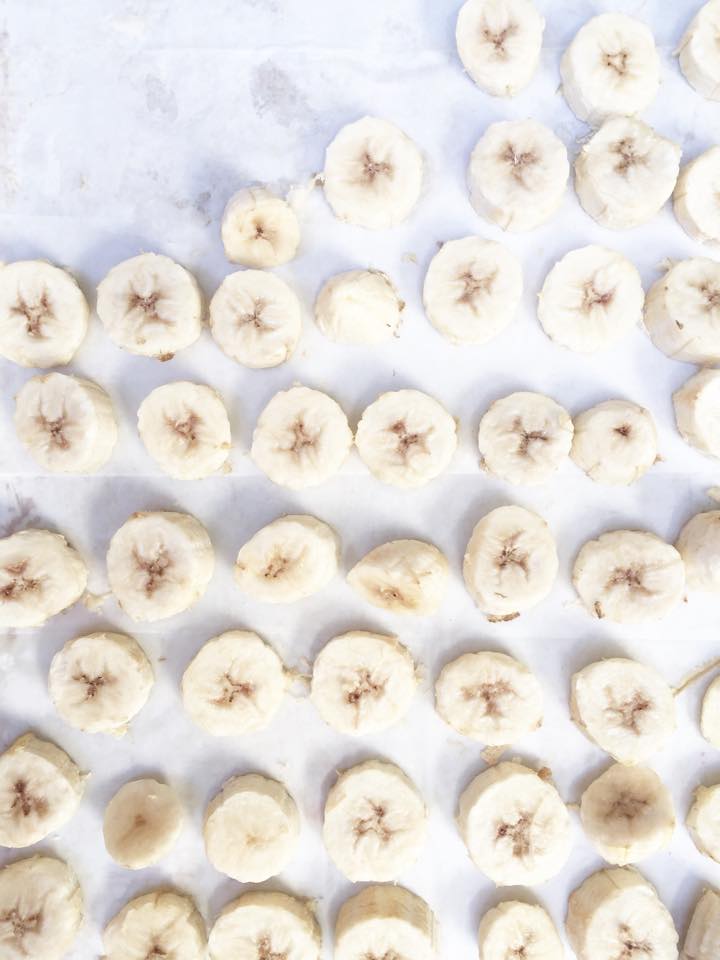
1 banana, sliced (either fresh or frozen)
1/2 cup pineapple, fresh or frozen
1/2 cup ice (this is optional and typically used when the fruit you are using isn’t frozen, if you are using frozen fruit, it usually is plenty cold and you won’t need the ice)
What to do:
What is your family’s favorite smoothie?
The post Tropical Delight Smoothie appeared first on Day2Day Joys.
]]>The post Lemon Meringue Pie for Spring appeared first on Day2Day Joys.
]]>Around Easter-time, we always look for simplicity, quality family time and enjoying special treats. As a total baking fanatic, I love to bake something delicious that entire family can enjoy.

Lemon Meringue Pie for Spring
There are several lemon meringue recipes available, but my absolute favorite is the one I am sharing with you today.


- 250 ml measuring cup
- 20 ml tablespoon
- 9 inch (23 cm) diameter pie dish
- 1 large egg
- 120 g cold butter (cut in small pieces)
- 70 g (1/2 cup) self-raising flour
- 130 g (3/4 cup and 1 tablespoon) plain flour
- 30 g (1 tablespoon and 3 teaspoons) caster sugar
- 56 g (4 tablespoons and 3 teaspoons) cornflour
- 170 g (3/4 cup) golden caster sugar
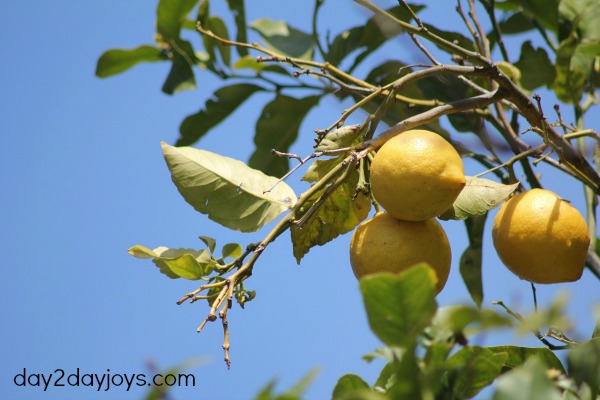
- 180 ml (2/3 cup and 2 teaspoons) fresh lemon juice (approximately 3 lemons)
- 230 ml (2/3 cup and 1/4 cup) water
- 60 g butter (cut in small pieces)
- 3 large egg yolks
- 3 large egg whites
- 170g (3/4 cup) golden caster sugar
- Put the flours, caster sugar and butter in a food processor. Process until the mix resembles fine fresh breadcrumbs. Add egg and process on medium speed for about 20 seconds, until the mix clumps together.
- Next, form dough into a flattened round. Put it in a freezer bag (or wrap in plastic wrap). Put it into the fridge and refrigerate it for at least an hour (or overnight).
- Combine sugar, cornflour, lemon juice and water in medium saucepan. Use medium-high heat and stir constantly until the mix starts to boil. Reduce heat to low and continue stirring until the mix becomes transparent and smooth. Remove saucepan from heat and stir in both butter and egg yolks. Stir until entire butter has melted and the mix is smooth. Pour filling into a small bowl or container with a cover and put it into the fridge. Keep it in your fridge until it is cold.
- Set the oven to 180 degrees Celsius and roll out pastry on a lightly floured board. Put it into pie plate and gently press into dish. Place a sheet of baking paper on the pastry and fill it with pastry weights. Bake at 180 degrees Celsius for 10 minutes. Remove weights with baking paper and continue baking for 10-15 minutes. Let the pastry cool completely.
- Preheat oven to 200 degrees Celsius.
- Place egg whites in a bowl. Use electric mixer on high speed until at soft peak stage. Start adding the sugar gradually on the same time beating well until the sugar has dissolved and the mix is thick. There shouldn’t be any sugar crystals.
- Spoon lemon filling on cooled pastry and spread meringue to cover filling. Form peaks in the meringue with a spoon. Bake it approximately 7-10 minutes.
- Allow the lemon pie to cool to room temperature, cover it and put it to the fridge. Serve it cold for instance with ice cream.
What’s your favorite pie for Spring?
The post Lemon Meringue Pie for Spring appeared first on Day2Day Joys.
]]>The post The Best Beef Stew in the Crockpot appeared first on Day2Day Joys.
]]>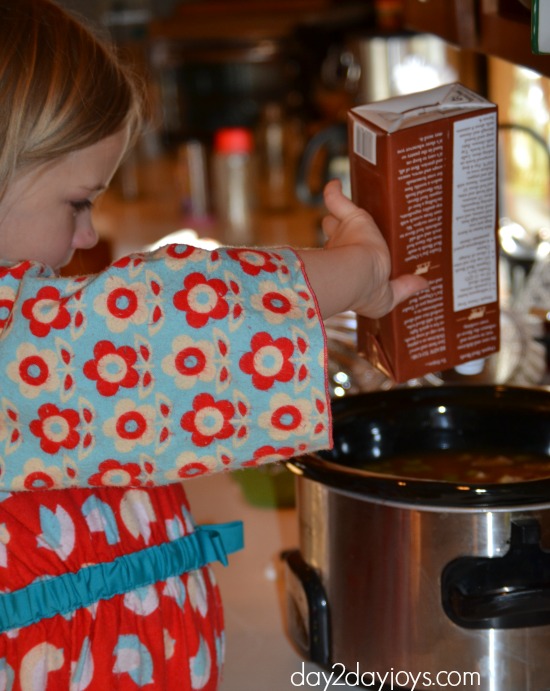
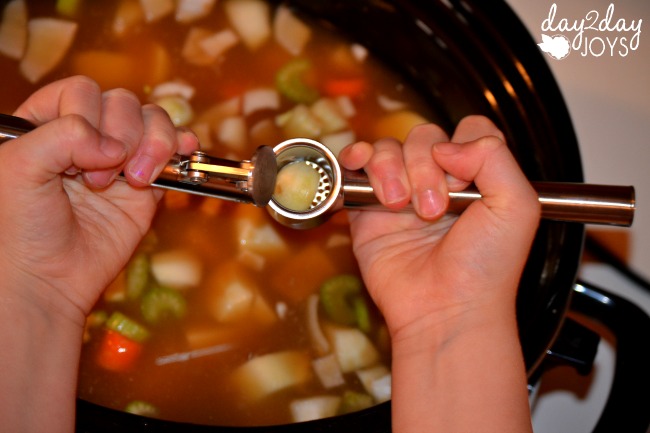
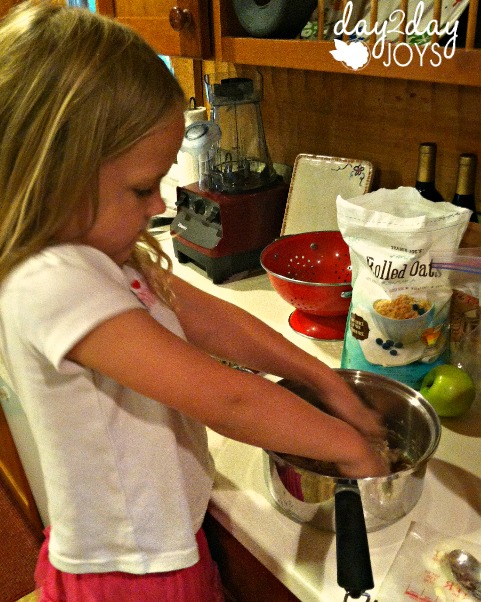
Cooking with my daughter Julia is one of my favorite things to do.
She loves helping! I have been slacking on my meal planning lately, but when I am on top of it, she is right there by my side eager to help.
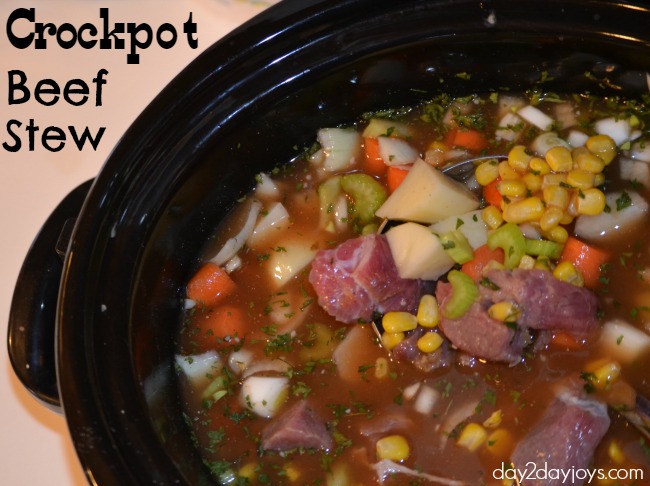
Cooking when it’s easy and tasty is something I always strive to do. This Beef Stew is the best because you just dump the ingredients into the crockpot and later you have a delicious dinner… AND the best part? No huge mess to clean up! 
**I wish I had a photo of the cooked stew but after basketball practice we ate it up so quickly. 
- About 20-25 baby carrots, diced
- 2-3 potatoes, chopped (can use sweet potatoes)
- 1 small onion, chopped
- 1 stalk celery, chopped
- 32 ounces organic beef broth + 10 ounces of more broth or water
- 1-2 pounds of grass-fed stew beef
- 1 C corn
- 2 T ketchup
- 1 t paprika
- 1 T parsley
- 1 t onion powder
- 2-3 cloves of garic, minced
- 1 t apple cider vinegar
- 1 t sea salt
- ¼+ t pepper
- ¼ C *flour (I used arrowroot) for the roux
- 2 T butter- use some in roux & before serving
- optional: 1 C frozen peas (not shown)
- Gather ingredients
- Chop and dice all vegetables
- Turn your crockpot on high heat and add the beef
- Pour in chopped veggies then cover with beef stock
- Scoop in the herbs & seasonings, stir and cover
- Let cook for several hours
- After about 4+ hours, make a roux with some of the butter, mix in with stew
- Before serving add remainder of the butter, stir
- Serve in glass bowls, repeat

What is your favorite soup or stew in the crockpot?
The post The Best Beef Stew in the Crockpot appeared first on Day2Day Joys.
]]>The post Jasmine London Fog Tea appeared first on Day2Day Joys.
]]>
Written by Contributing Writer, Kari @ Living Strong, Health & Wellness
I like hot beverages. Coffee, hot chocolate, hot cider, tea…you name it.
If you’re a tea connoisseur, then you need to try this amazing recipe. Even if you don’t usually like tea, this has such a sweet and delicate taste, you may actually like this. Adding milk to tea is a tradition practiced in many cultures, American culture not being one of the top ones. So, this isn’t a common drink for many people, but it’s definitely one you may wan to add to your list of favorites. Typically London Fog Tea is made with Earl Grey tea and milk, but last summer I tried a different version at our local coffee shop. London Fog with Jasmine tea.
Oh my goodness.
The sweetness this drink has is beautiful. It’s a soft, yet gentle sweet taste and with the raw honey – it gives it that extra pizazz in the taste department.
If you like hot beverages, but don’t like coffee or don’t always want to drink coffee, this is a great alternative. My kids even enjoy this!
It’s simple, easy and takes less than 10 minutes to prepare. I use whole milk, but you could use any dairy or dairy sub you prefer. I’m sure they’d all alter the taste a bit, but I only think it would make it more unique. Go ahead and give it a shot. All you need to do is:
Steep that tea.
Add warmed milk.
Add the hot tea.
Then add the raw honey.
Doesn’t it look delicious?
Just three simple ingredients. Go ahead and give it a shot!
- 4 ounces Jasmine tea, hot
- 4 ounces whole milk or dairy subsitute, warmed
- 1-3 teaspoons raw honey
- Prepare a cup of Jasmine tea according to directions on box.
- In a small saucepan, warm 4 ounces of milk or dairy substitute over medium-low.
- Combine the hot tea and warmed milk in a mug.
- Add the raw honey and stir until dissolved.
- Enjoy!
What is your favorite tea?
The post Jasmine London Fog Tea appeared first on Day2Day Joys.
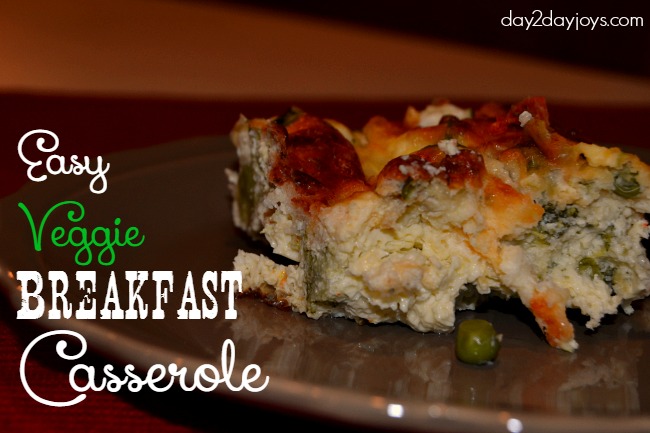
]]>The post Easy Veggie Breakfast Casserole appeared first on Day2Day Joys.
]]>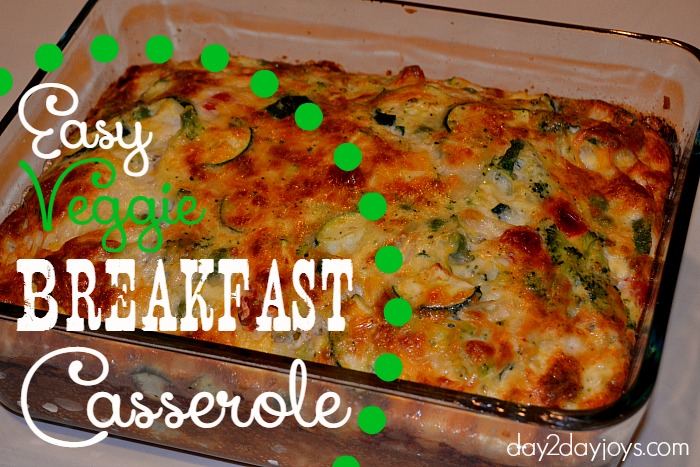
One thing I love is a healthy, tasty breakfast casserole.
I love them because the are really easy. I like to throw a bunch of things together with some eggs and seasonings and call it breakfast- which usually turns into something delicious, like this recipe.
- 7-8 eggs
- 1 small onion, chopped
- ½ a medium zucchini, chopped
- Couple handfuls of sliced cherry tomatoes
- Couple handfuls of peas
- ½+ C steamed broccoli, chopped
- 1 C milk or half and half
- ¼ t pepper
- 1 t seasoning like Mrs. Dash
- 1 t salt
- ½ t garlic powder
- ½ t onion powder
- ½ to 1 C shredded cheese of your choice, depending on how cheesy you like it
- Gather ingredients, preheat oven to 350 degrees
- Prepare all veggies, sprinkle bottom of a glass dish (8x8 or similar)
- Make egg mixture with eggs, milk and all the seasonings, mix well
- Sprinkle cheese evenly over veggies
- Pour egg mixture and let sit for a few minutes or over night
- Bake for 45-55 minutes or until lightly golden on the top
- Take out of the oven and let cool for about 10+ minutes
- Enjoy!
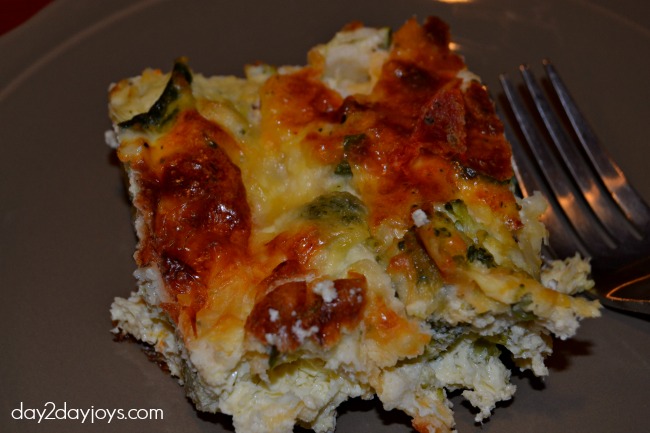
I love to make breakfast casseroles when I go to a breakfast meeting for my co-op or MOPS (when I get the chance to go) or sometimes holiday mornings or just for fun. The other day a friend came over and I made one, it was sooo good so I thought I’d share the recipe.
Feel free to add more or less of the veggies or substitute for the ones you have on hand that you need to use up. I bet veggies like red peppers, spinach or even other squashes would be amazing in this. You can even add some bacon or sausage to add some meat. This recipe is essentially that, a bunch of stuff (whatever you have) with eggs and cheese. Yum!! 
What are your favorite breakfasts? Do you like breakfast casseroles?
The post Easy Veggie Breakfast Casserole appeared first on Day2Day Joys.
]]>The post Crock-Pot Apple Crumble {Sugar & Gluten Free} appeared first on Day2Day Joys.
]]>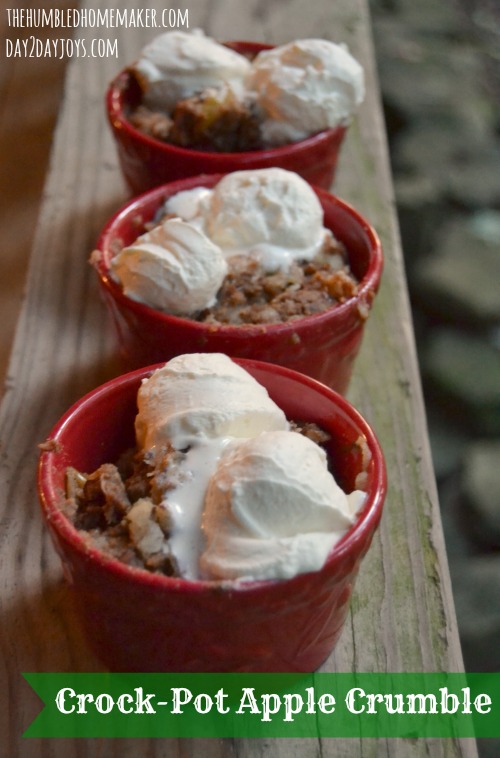
Fall is my favorite season! It’s not quite yet Fall weather here in Tennessee but I know it’s right around the corner.
I have been trying to avoid using the oven since ours is gas and it heats up the whole house, although the warmth has been feeling nicer as Fall is approaching.
Using the crockpot is a great way to avert the heat… PLUS, it’s easy!
Dump ingredients, turn on and walk away. Well, it’s mostly that easy. Most recipes like chili or stew are that easy but this one needs some attention here and there.
My daughter loves to help me cook, whether it’s cleaning the produce, cutting up veggies or adding things to the pot, crock-pot in this instance. I try my best to teach her what a good homemaker is because one day she might be one. I am still a work in progress and fail miserably at times but I hope I am instilling in her a love for God, how to love her husband, be a mother and how to keep a home, among other things.
She even helped me make this recipe and take pictures with me after.
Join me over at The Humbled Homemaker for the recipe!
What’s your favorite Fall treat?
The post Crock-Pot Apple Crumble {Sugar & Gluten Free} appeared first on Day2Day Joys.
]]>The post Chocolate Avocado Popsicles appeared first on Day2Day Joys.
]]>
The middle of summer means a lot of heat, sun and hopefully fun.
In the midst of summer business of swim lessons, vacation Bible school, and staying up later, we love to have fun outside. We go to splash pads to keep cool, play in the back yard with the hose and often go for bike rides in the evening as the sun is setting.
Always remember to use a good sunscreen or cover up in the sun to prevent skin damage.
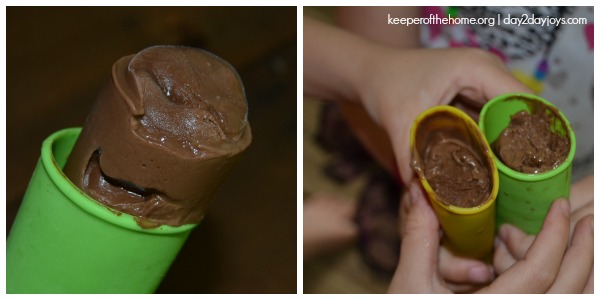
Another thing we love is a delicious, healthy popsicle. If you’re wanting a healthy choice, you don’t have to get ones from the grocery store full of unhealthy sweeteners and the bright colors. You can easily make your own!
If you purchase some molds you can make your own popsicles over and over again. We’ve had our molds for about three years. I like the silicone push pop molds because they help with the dripping that popsicles often do in the summer months. However, if you don’t have any molds handy, you can easily make these in ice cube trays with popsicle sticks.
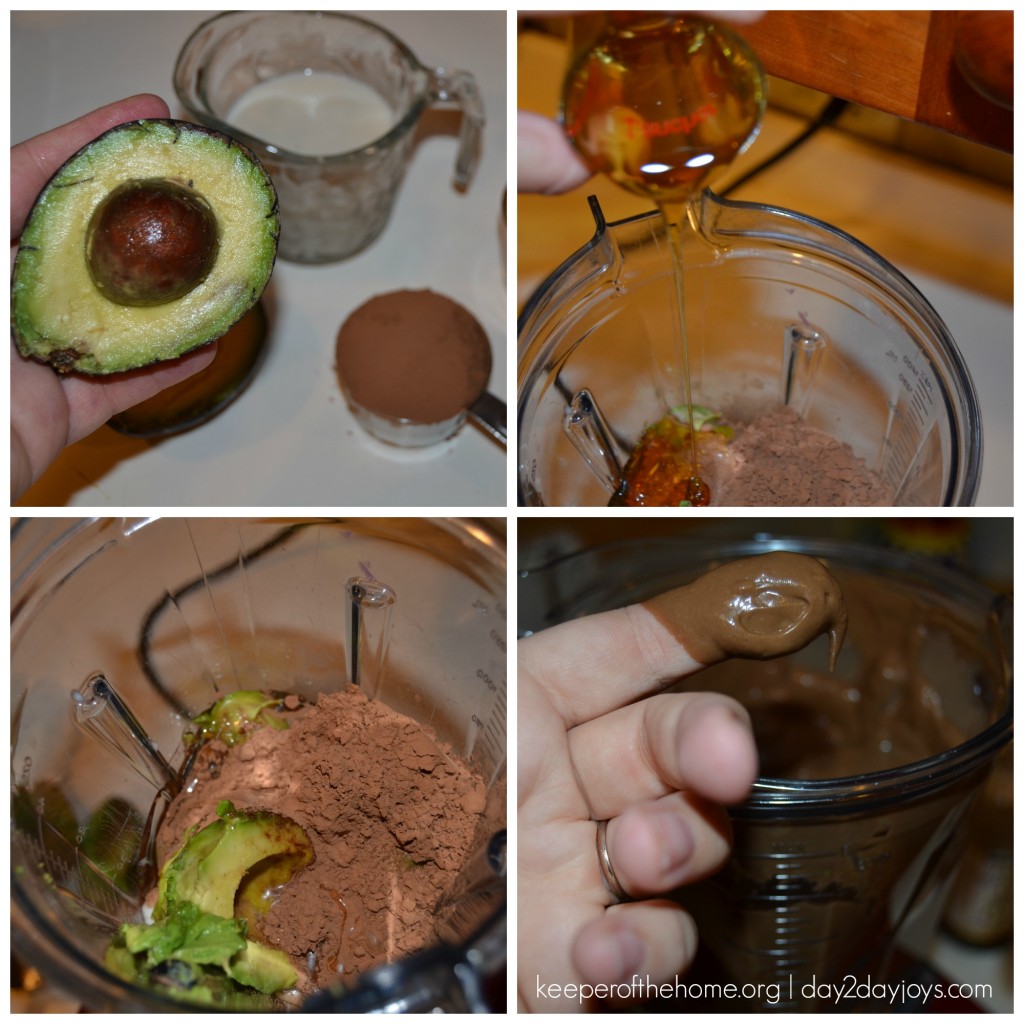
Today, I ‘d like to share with you this recipe, you can find it over at Keeper of the Home.
Do you ever make your own popsicles? What are your favorite recipes?
The post Chocolate Avocado Popsicles appeared first on Day2Day Joys.
]]>The post Jammin Strawberry Jam appeared first on Day2Day Joys.
]]>
Are you guys getting overwhelmed with fresh, ripe, delicious, sugary, fruit? My goodness, spring and summer are just the best eating!!
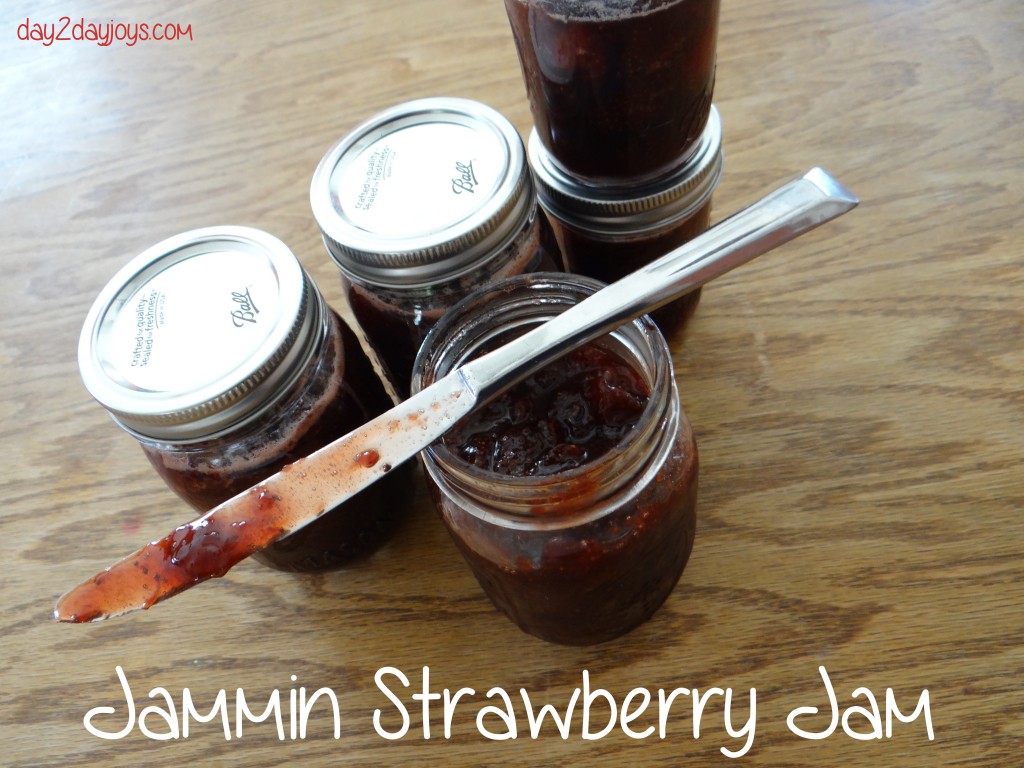
My kiddos and I love to go picking. We pick anything we can get our hands on (in Massachusetts… strawberries, cherries, blueberries, peaches, apples, etc). Last year I canned tomatoes and applesauce… this year I wanted to try jam. We LOVED the results of this jammin jam!
How to make Jammin Starwberry Jam:
What you need:
- 10 cups of cleaned, de-topped, mashed, strawberries
- Zest of 2 lemons
- 4 cups of sugar
- 4 cups of honey
* I think all honey would be fine, it makes your jam a little more runny – but then it can double as ice cream topping. (see below…)
What to do:
- If you’re going to can your jam – get all your supplies ready – get your pot boiling, jars sterilizing, tops and rings hot and clean.
- In the meantime put all of your strawberries, sugar and honey into a pot (I used a big dutch oven type pot). You need time and patience people.
- Stand by the pot of strawberries, boiling away and skim skim skim! Be careful not to let the mixture burn to the bottom (I am still pot scrubbing!).
- The boiling berries produce this foam. You need to remove it (as much as you can).
- Get yourself a big bowl and put it right next to you, and a big, flatish spoon, and skim!
- After about half an hour (or whenever the foaming dies down), you’re ready to add your zest, and fill up your jars and process them for 10 minutes, and then set them aside to cool and pop!
- Enjoy!
Do you jam? Can? What’s your favorite summer item to preserve?
The post Jammin Strawberry Jam appeared first on Day2Day Joys.
]]>The post Eating Real Food on (Really Long) Road Trips appeared first on Day2Day Joys.
]]>
Written by Jenn @ A Simple Haven, Contributing Writer
This summer, my little family and I took a two and a half week road trip through Canada and Maine. We made several stops along the way; either in a hotel or a friend’s house for a night or for several days in a rental house.
We travel pretty regularly as a family but this was by far the longest we’ve been away from home and all of the conveniences home affords–especially in the kids and food departments.
Adventures in traveling with kids is a story for another day. Today’s topic is attempting to feed your family real food on the road.
Having spent a week in a beach house last year, I had learned a little about how to feed my fam decent stuff away from home. This year’s trip was way more challenging:
I had a kitchen to do some meal prep in, but not until about week into the trip. A few days were spent entirely on the road in rural Canada with few convenience meal prospects (the words “can we at least find a Taco Bell?” actually escaped my mouth). Other days were spent in cities eating out for every meal, the cost of which I was trying to offset with homemade stuff where I could.
The bottom line? Pack strategically and (outside of food sensitivities) lower your standards. And enjoy the ride.
Eating Real Food on the Road
1. Plan Ahead
I’m pretty plan-oriented in general, but trips and Christmastime are where my MBTI “J” comes out most. Make some lists, friend.
A month or two before your trip, start writing down all the food you think you’ll want to bring, buy, or make for the road.
My lists were divided into stuff for the car, perishables I’d want to cook with I had a kitchen, and non-perishables.
2. Buy Ahead
For me, one of the unforeseen costs of travel is always the snacky stuff for kids that I don’t usually buy. My kids’ fav are those organic baby food pouches. I know. They’re two and four and way beyond baby food. But they suck them down and I’m happy because they’re getting a modicum of veggies.
Downside? They ain’t cheap. So I hit up Costco before our trip and bought a bunch in bulk.
3. Pack Strategically
Depending on the length of your trip and the grocery situation at your destination, you’ll want to bring basics that might be hard to find (or crazy expensive) when you arrive.
For me, these were quality meats, cheese, milk/milk alternatives, good oils, and random favorites like real maple syrup and Ezekiel cinnamon raisin bread. I also packed stuff that would be annoying to have to buy/find at our destinations: a few spices and good coffee & tea.
The non-perishables all fit in a large canvas bag, no problem. The perishables required more attention; if I wanted the beef to last through our first week in hotels, I had to be diligent about keeping the cooler full of ice.
4. Make Ahead
One of the best ways to cut costs on the road–and eat decent stuff–is to make your own snacks. Some of my favorite road trip snacks to make are granola bars, homemade Larabars, muffins, and popcorn. Throw in some fruit or veggie sticks and a loaf of bread, a favorite nut butter, and raw honey to make sandwiches and you’re set.
5. Lower Your Standards
If you’re not the Type A type, forget I said anything. If the thought of feeding your kids Taco Bell makes you spasm, read on.
Barring food allergies or sensitivities, just relax. Yes, you want to feed your kids real food. But you also want to enjoy your vacation–so compromises will be necessary.
Over the course of our trip, my usually easy-going toddler started (publicly) screaming “yucky!!” to old stand-bys. In light of his sleep-deprivation and car-seat imprisonment, I decided not to die on the hill of food: he ate at least two meals consisting of little more than fries and ice cream.
I cringed, gave him an extra dose of cod liver oil, and reminded myself that we were in survival mode, not creating childhood habits.
What are your best tips for cooking/eating well while on vacation?
The post Eating Real Food on (Really Long) Road Trips appeared first on Day2Day Joys.
]]>


